Tutorial
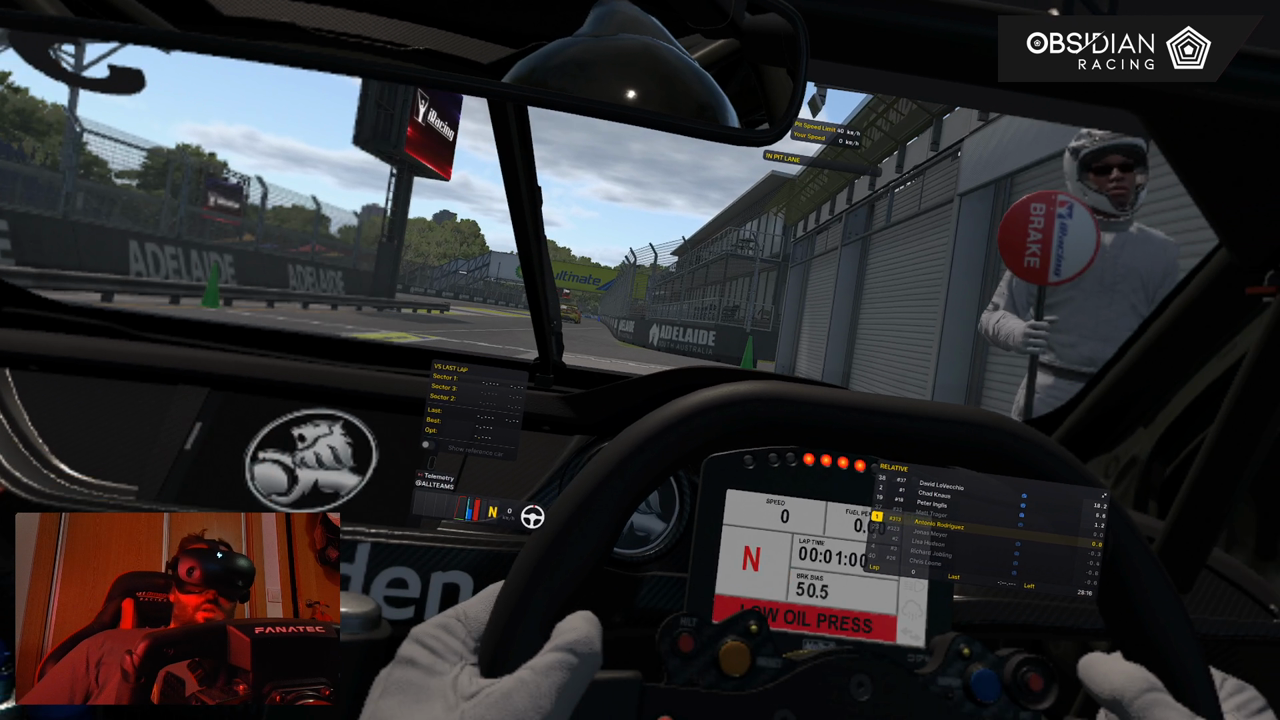
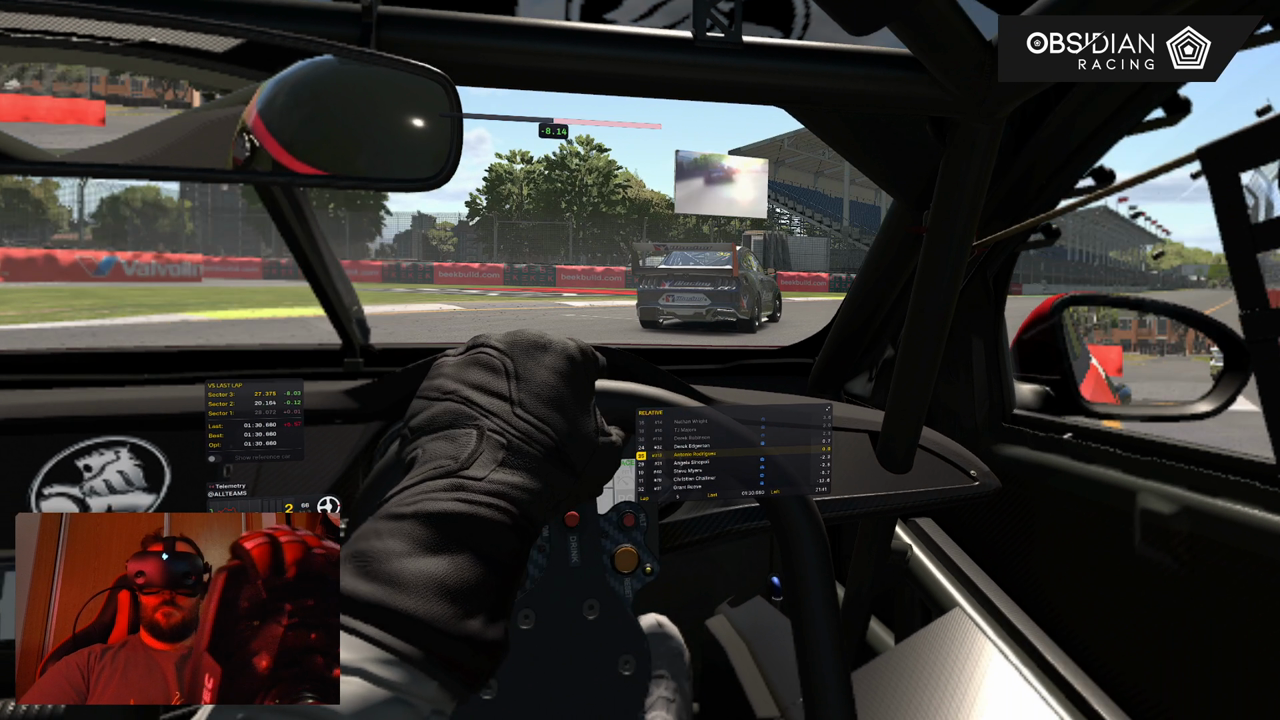
This tutorial uses the example video:
E:\musan\Videos\2026-06-08 23-52-54.mkv
You can use any video file supported by ffmpeg.
1. Open the video
Start Trimmy with the file path:
trimmy "E:\musan\Videos\2026-06-08 23-52-54.mkv"
Or open Trimmy first:
trimmy
Then drag the video into the window, or click the open area.
2. Select the two crops
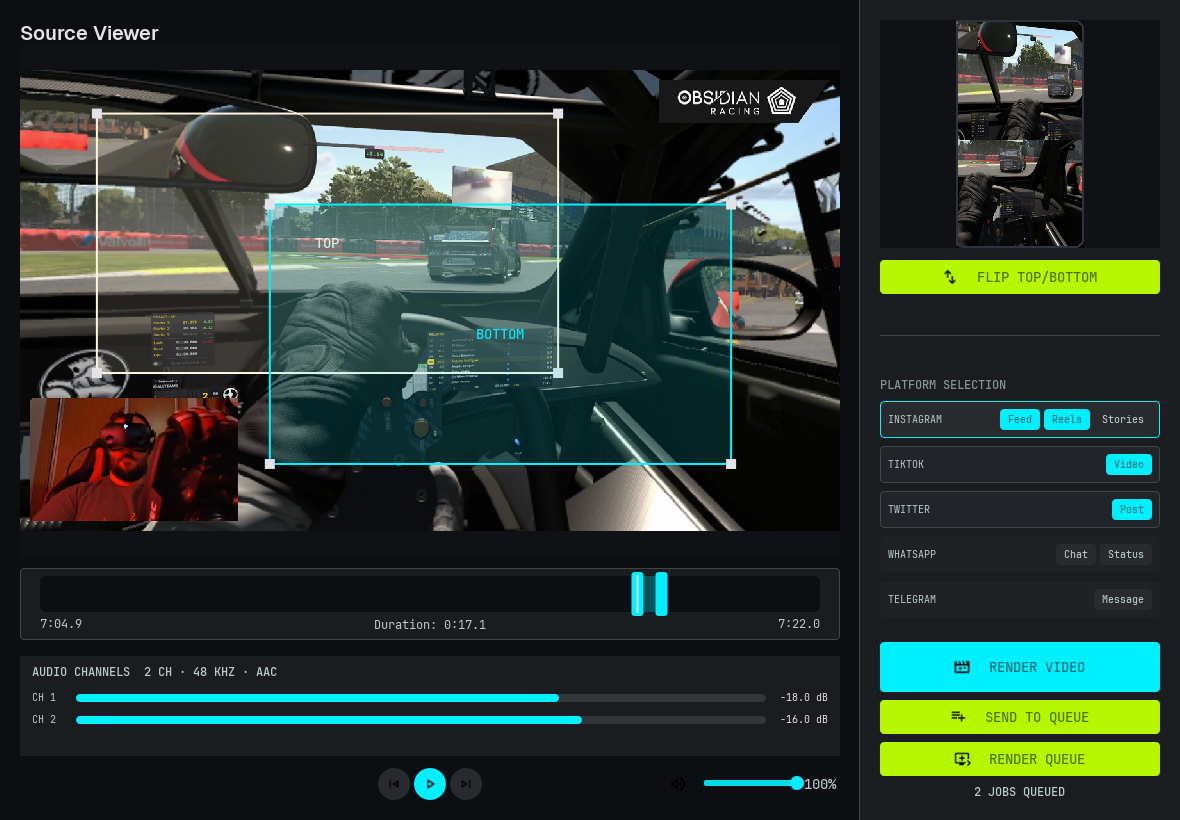
In the source viewer, position the two crop boxes:
TOPbecomes the upper half of the vertical output.BOTTOMbecomes the lower half of the vertical output.
The preview on the right shows the final 9:16 composition as you edit.
3. Trim the timeline
Use the timeline handles to choose the part you want to export.
You can also use keyboard shortcuts:
Q: set trim start to the current playhead.E: set trim end to the current playhead.K: play or pause.JandL: seek backward or forward 5 seconds.
For the example video, a good tutorial segment is:
Start: 7:04.9
End:   7:22.0
4. Pick platform targets
Select one or more outputs from the platform panel.
Common choices:
- Instagram
Reels - TikTok
Video - X
Post - WhatsApp
Status - Telegram
Message
Trimmy remembers your selected targets and last output folder.
5. Render now
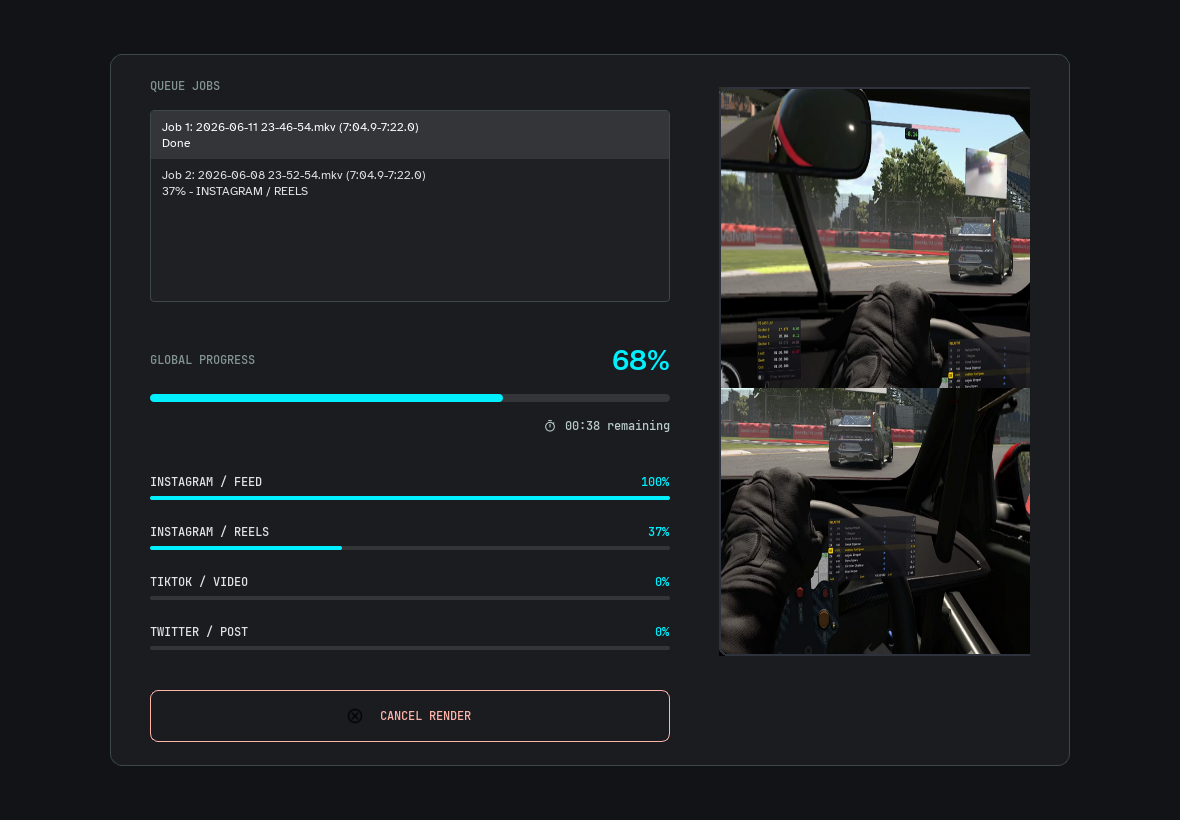
Click Render Video to encode the current trim immediately.
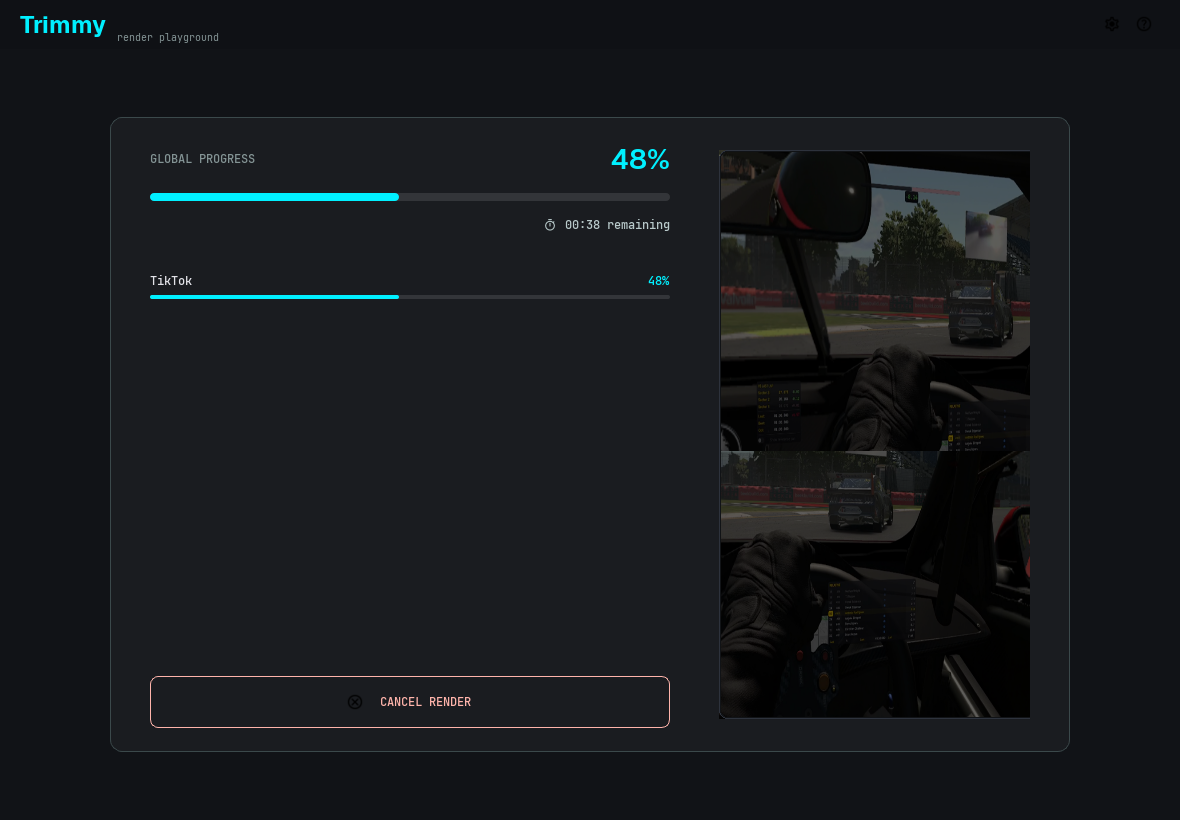
When the render completes, click Done to return to the editor.
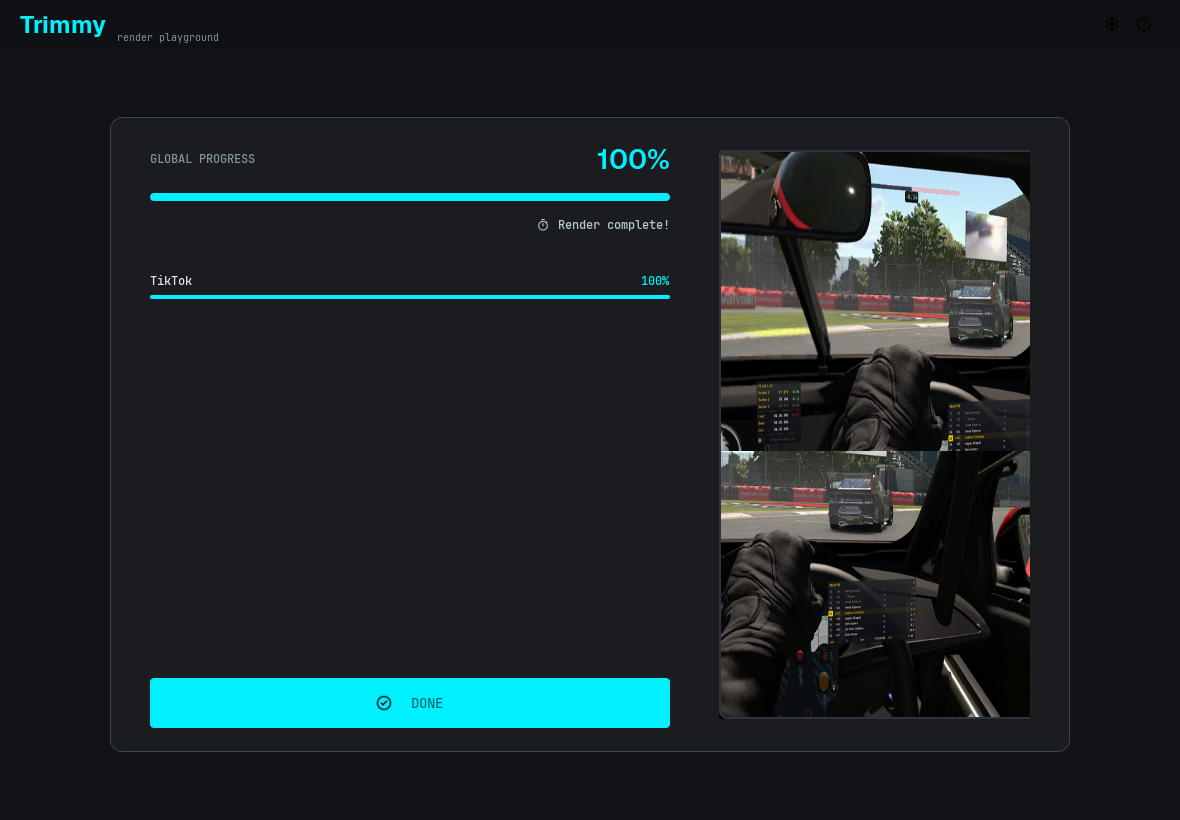
6. Or build a queue
If you want to render several trims, click Send to Queue.
Repeat the crop and trim workflow for each segment, then click Render Queue.
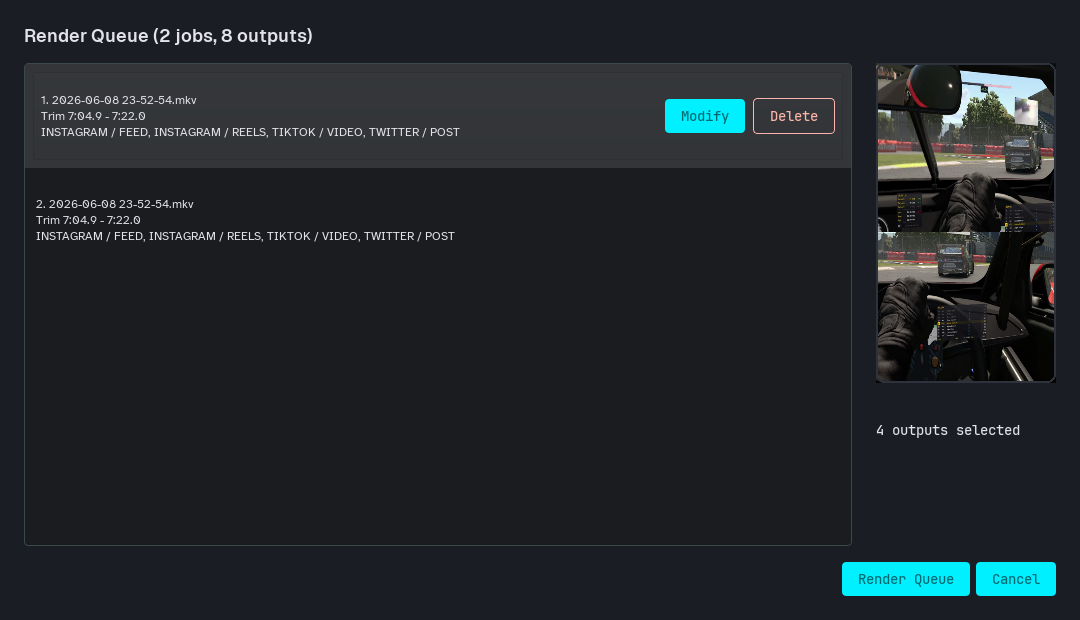
During queue rendering, each queued trim and target gets its own progress.